

Before you start
- The sender is set up under Email → Sender, which requires the Manage organization permission. Until the sender is ready, the Email area shows only Contacts and Sender. See Sender settings.
- Your role has Manage contacts to import people, Manage surveys to create the survey and Send email surveys to send it.
- You have a CSV file with one address per line, optionally followed by a name, in the form
email,name. - Any plan works. Each month, Usertick sends 50 survey emails on Free, 500 on Starter, 2,500 on Pro and 10,000 on Business.
Create a list and import your contacts
- Go to Email → Contacts and select + beside Lists.
- Enter a name, such as “Customers”, choose an icon and select Create list.
- Open the new list, select Import CSV and choose your file. Usertick adds everyone in the file to your contacts and to the open list.
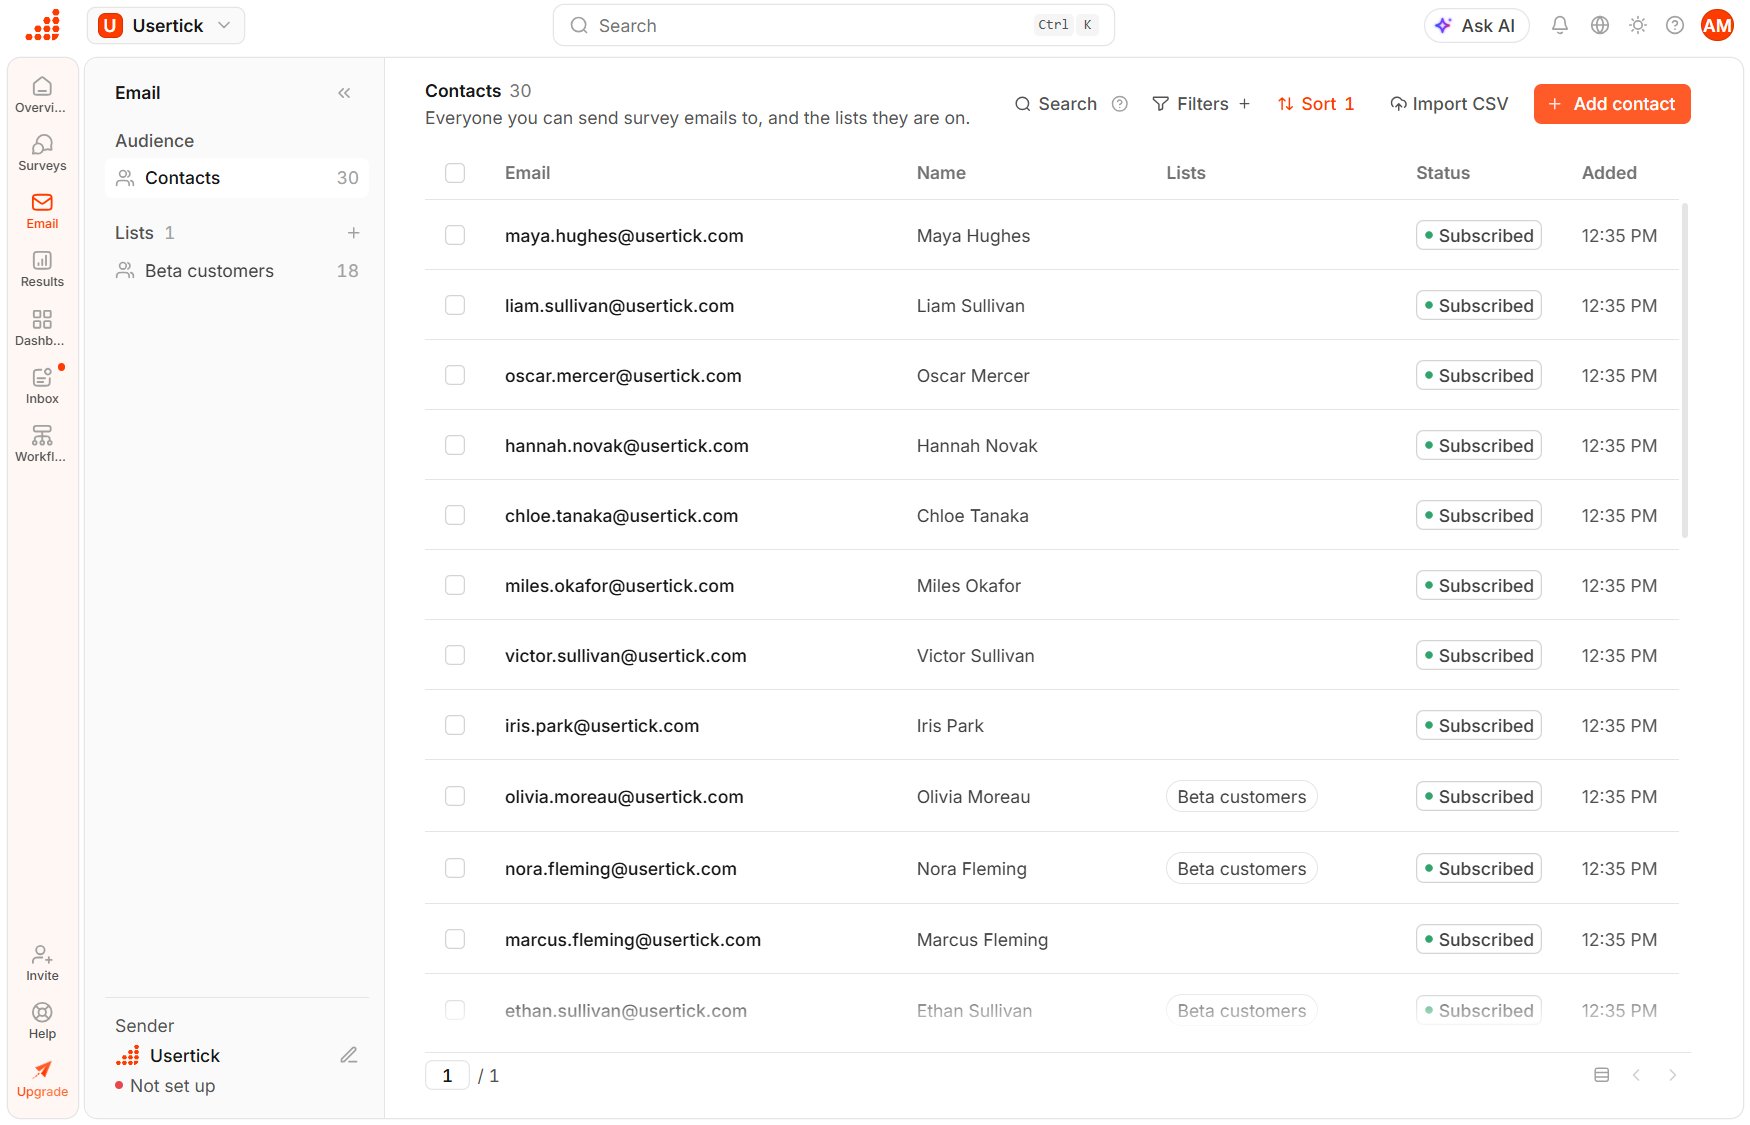
Email → Contacts
Create the email survey
- On the Surveys page, select Create survey, then Templates.
- Select the Net Promoter Score (NPS) template card, and the survey starts on the Email channel.
- In the editor’s Email step, check the Subject and the message beside the preview.
Send it to the list
- Select Send in the editor’s header, and Usertick publishes the survey and opens New send.
- Under To, add your list. The line under To shows how many people will receive the email, leaving out anyone who unsubscribed.
- Select Send test, enter your own address and select Send test again. A test email is marked [Test], and nothing you answer through it is saved.
- Select the send button, which names the number of recipients, such as Send to 120 people, and the email goes out right away.
Check that it works
- Go to Email → All sends and select the send. Its page shows Delivered, Failed and Skipped, and it adds Answered once something is delivered.
- Open Inbox to read the answers. Each response is linked to the contact the email went to, and the contact’s panel under Email → Contacts lists their emails and answers.